Introduction
In this page we explain how to perform different tasks related to the phyloviz and toolbox rendering.
Update specific virus information
Virus information is stored in 2 locations, depending on the type of information:
The acronym and full ‘name’ of the virus, whether the virus is ‘of interest’ and to which family the virus strain belongs is encoded in the virus family Excel file:
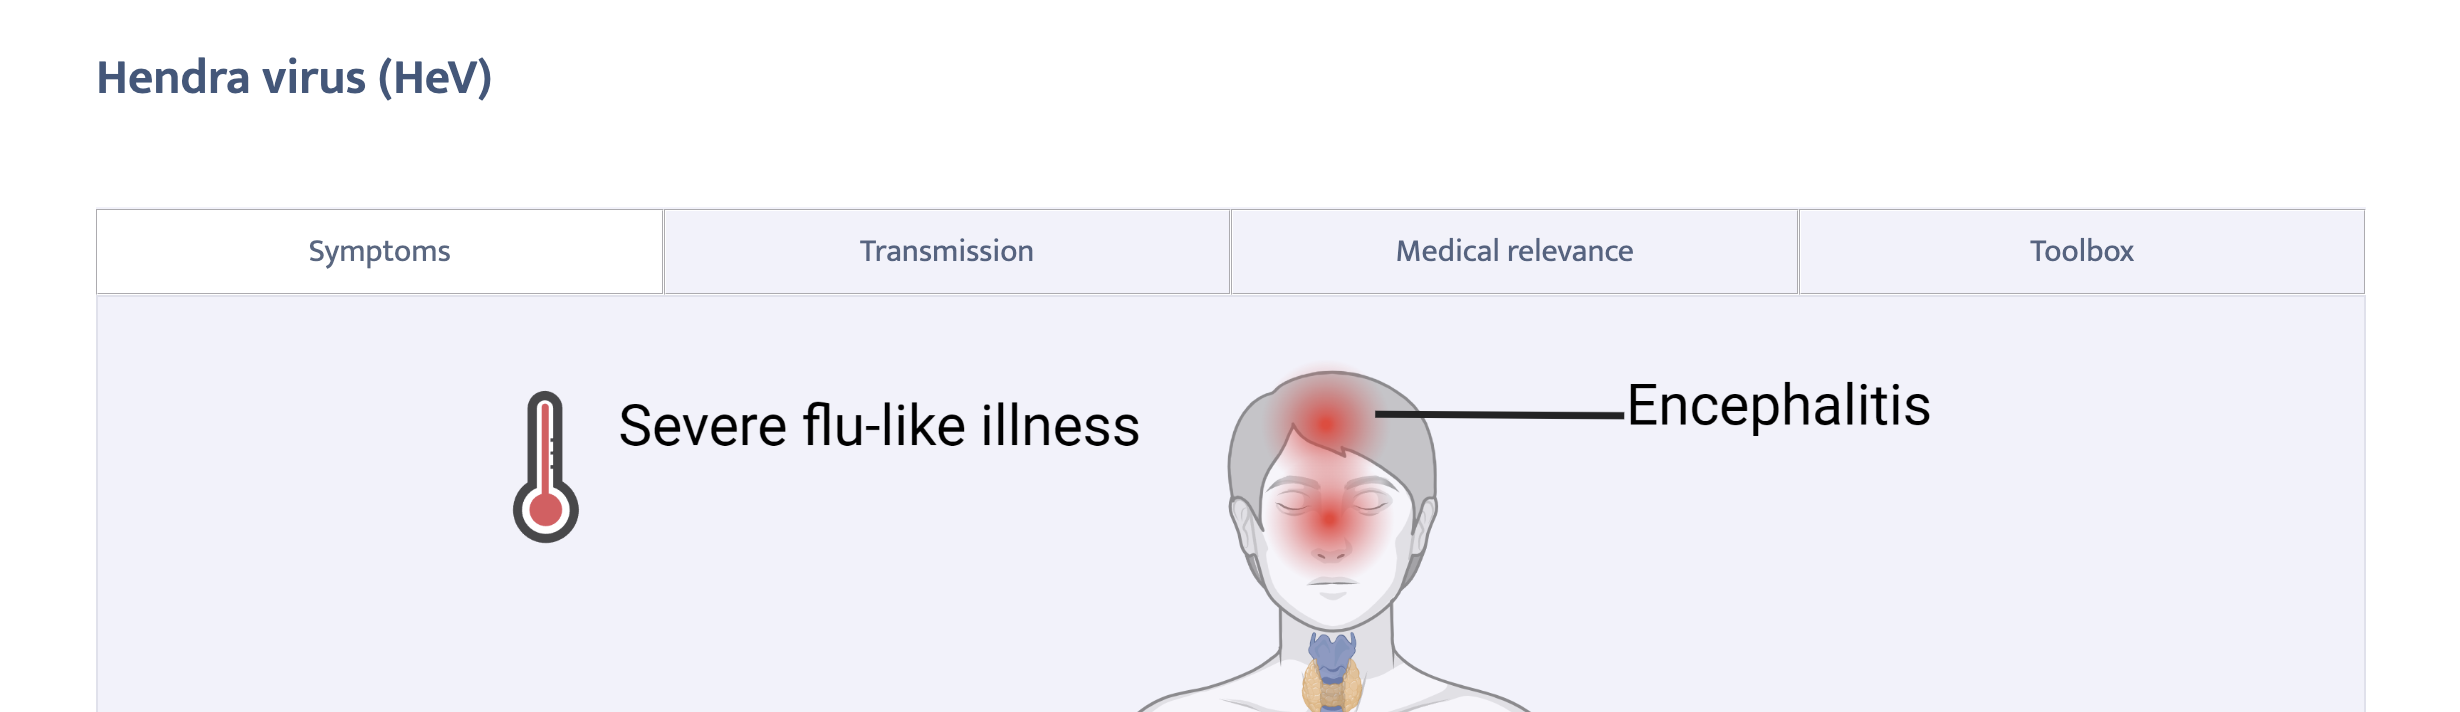
<family>/family.xlsx. We will call this virus annotations in what follows.The information that appears when clicking on a virus (Symptoms, transmission, etc.) as well as all figures that are shown in these tabs/panes are stored in files that are included in the respective pages (see for more information here).
The files discussed here can simply be adapted using any editor or online in Codespaces (see Use Github).
Virus annotations
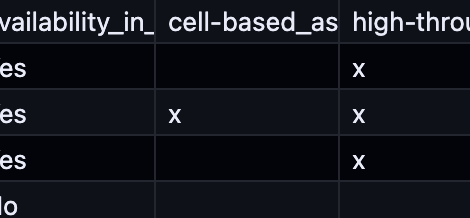
This information is fetched from the virus family’s Excel file. This is an example for alphaviruses (alphaviruses/family.xlsx):
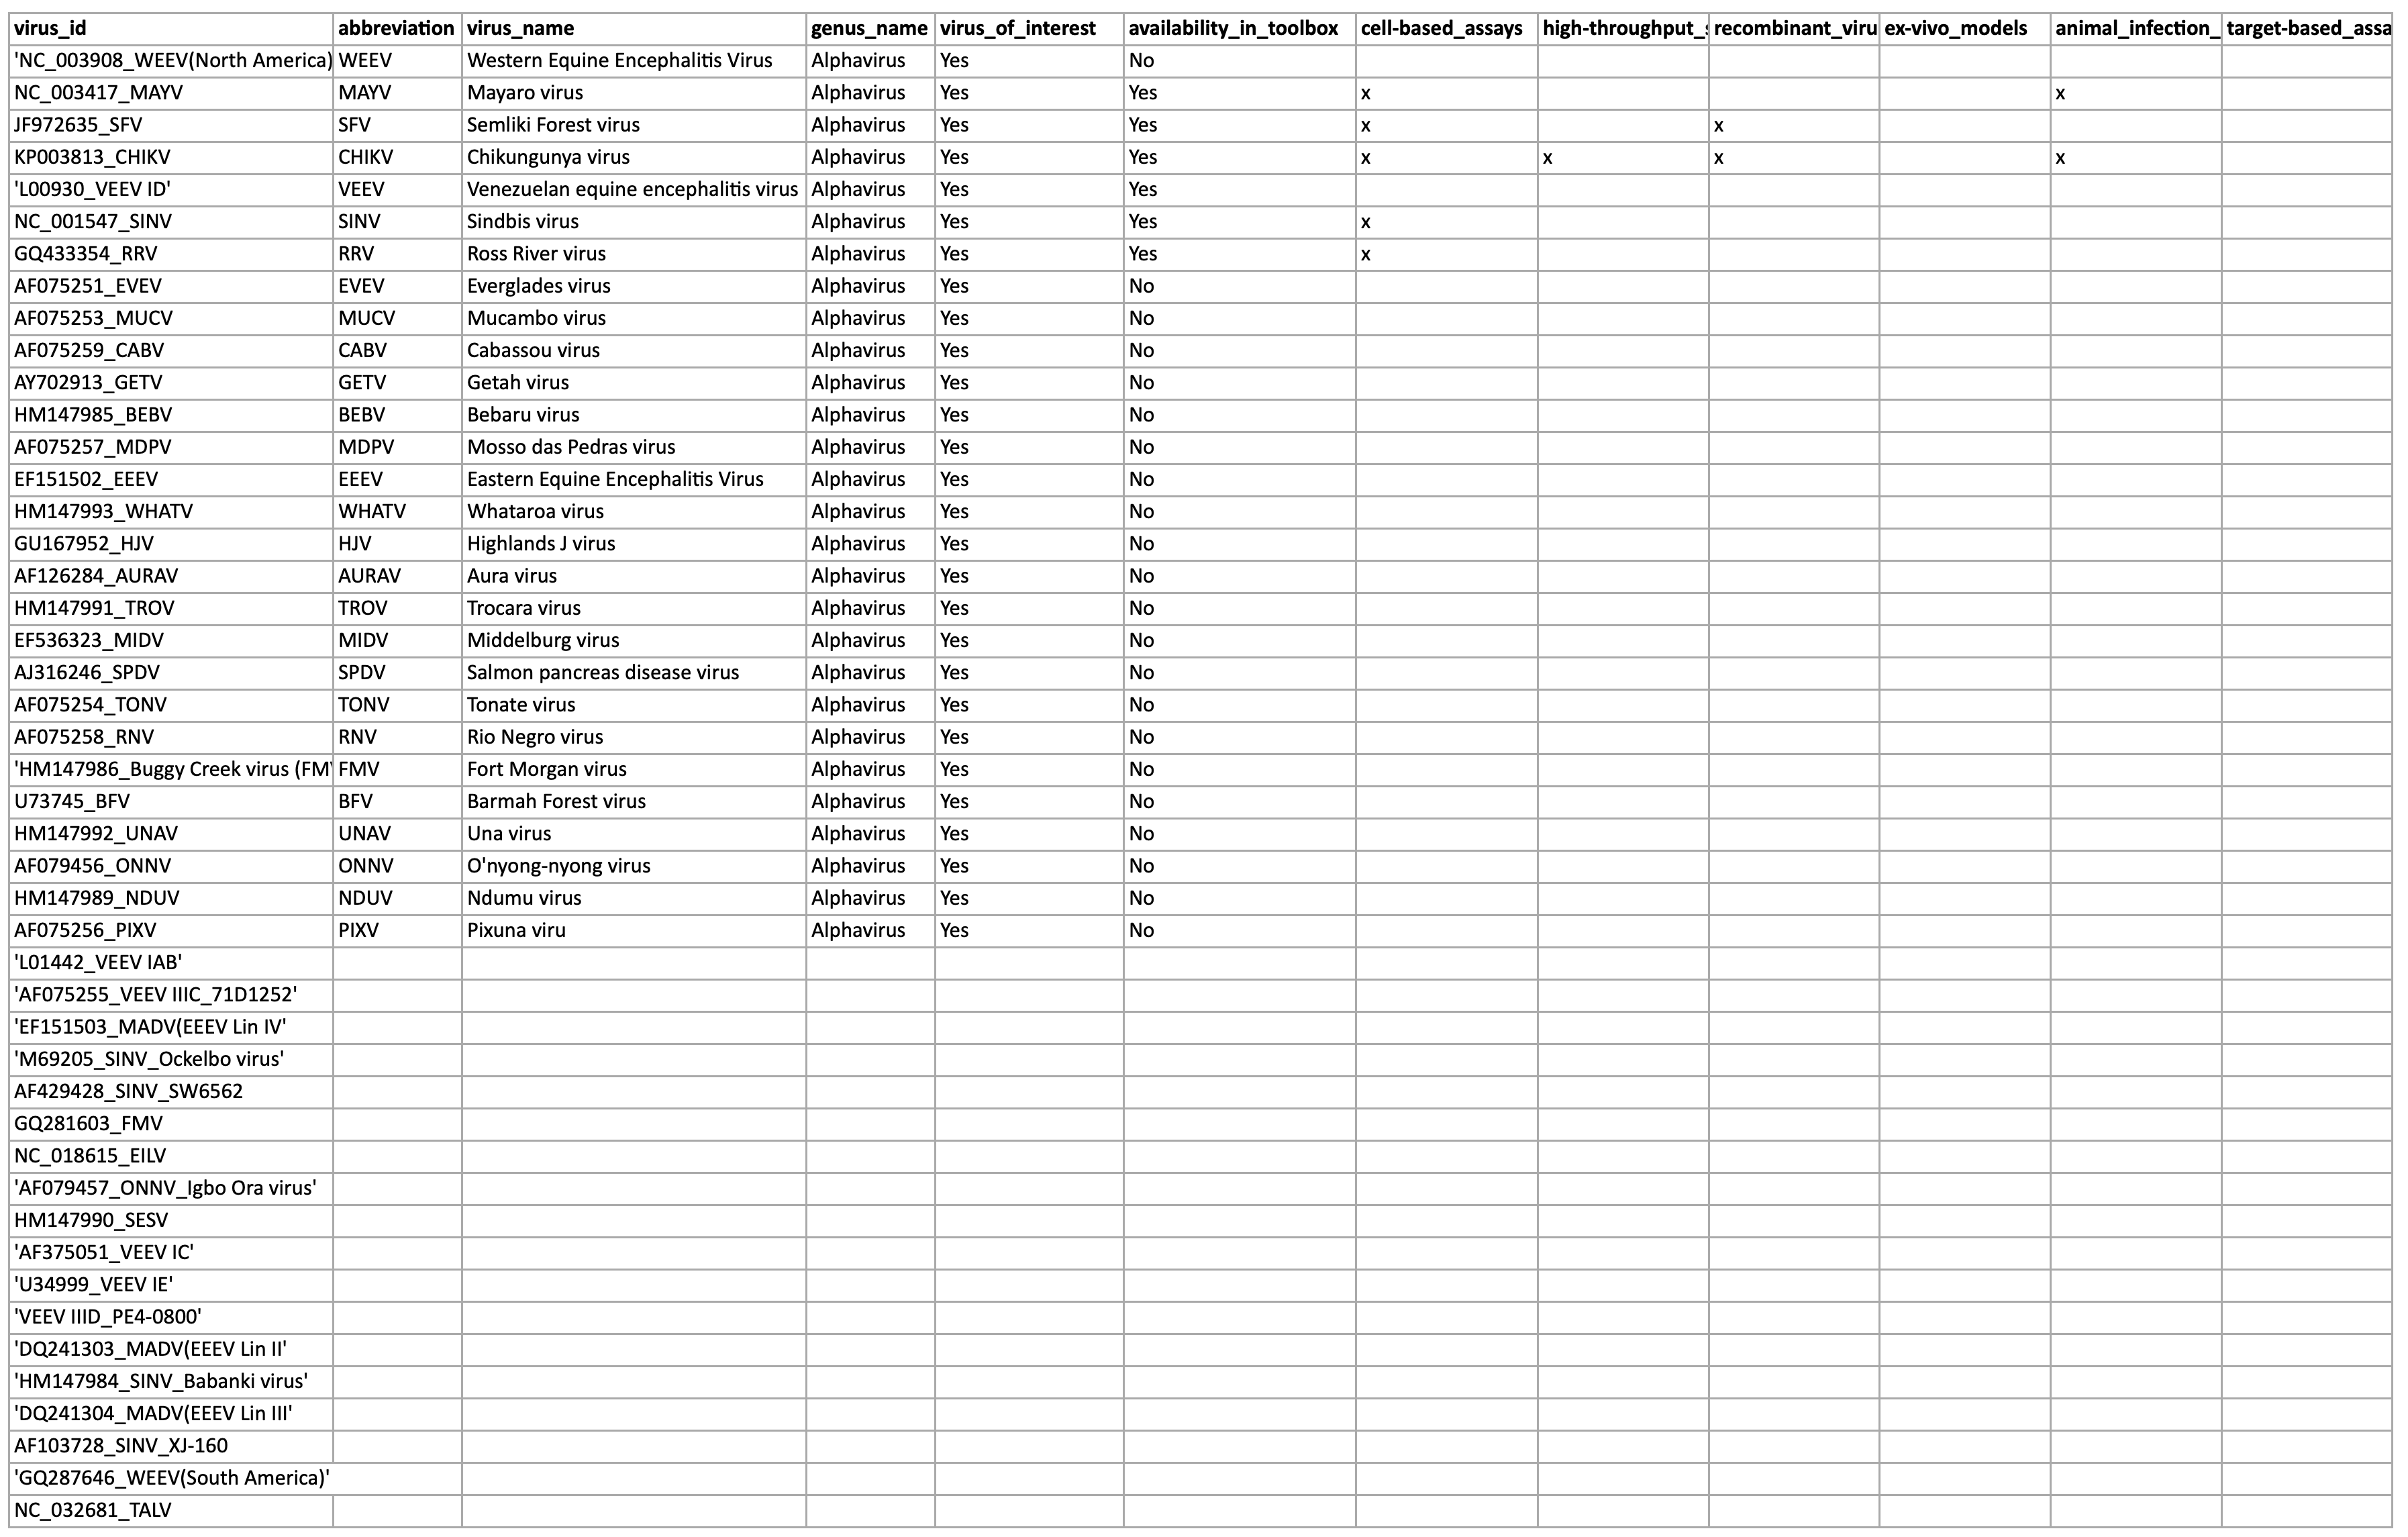
This Excel file is parsed as follows:
- All lines that do not contain an abbreviation are skipped
- The first colum (
_virus_id) is the one that is used to match this entry in the Excel file to the tree as encoded intree.newickfor every family. - The
abbreviationis the id used when drawing the tree. It is also used internally as a short identifier - The
virus_nameis used as a human-readable name. genus_nameis not really used because we use the entry in thefamily.yaml|jsonfile.virus_of_interestis used to distinguish between viruses for which we want to show more information (in the detail panes). A virus can be of interest, but without any tools available for it.availability_in_toolboxis used togehter with the different tools next to it to encode if a tool is available for this specific virus.
If we want to update anything, it’s important to not change the column headers, because the parsing is heavily based on those.
Updating can be done in two ways:
Update online
Open a Codespaces session as described in this page.
Install the Excel extension by searching for Excel and installing the following extension:
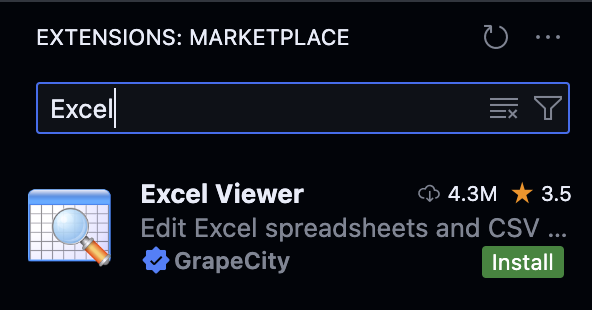
The following should appear:
Open the
family.xlsxyou want to update: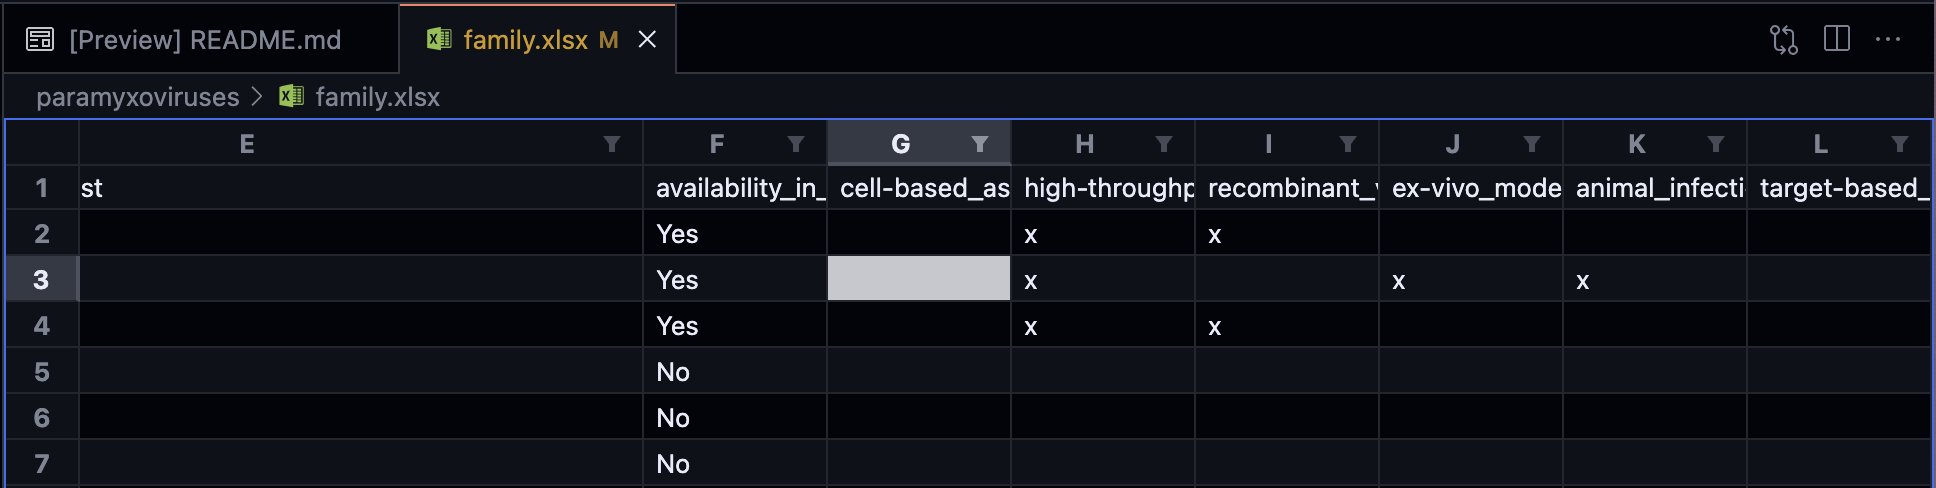
Edit the entries you want to update and save
The rest of the procedure is the same as described in the github page.
Update offline
A second option is to not use codespaces:
It’s possible to download the Excel file of interest from Github. First open the Code tab and select the branch you are working on, in my case this is
docs: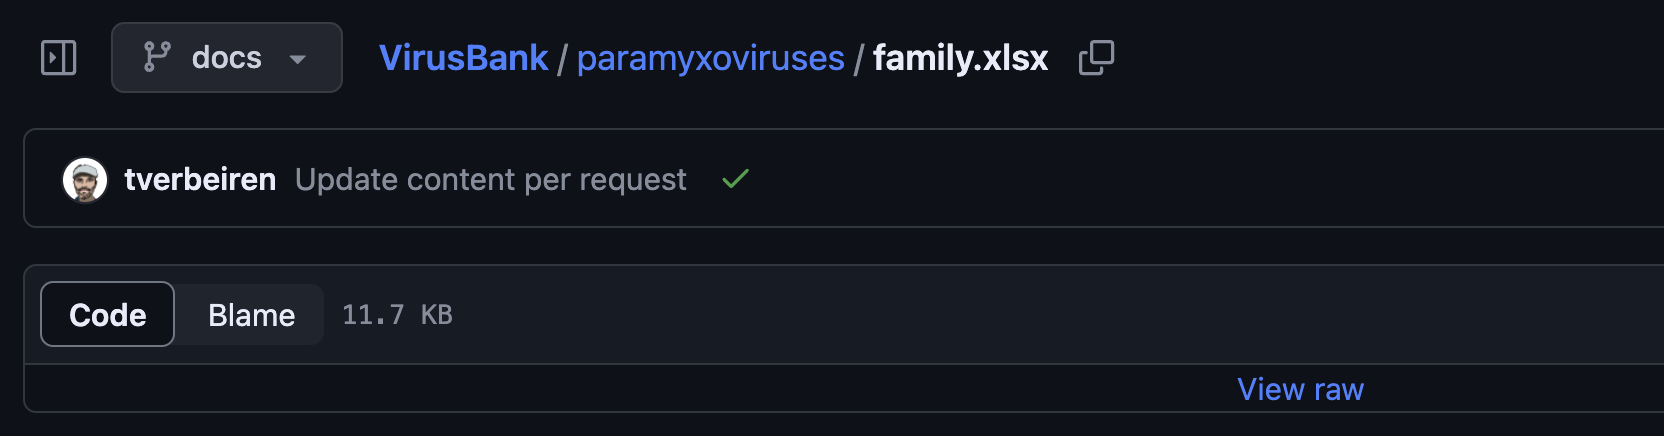
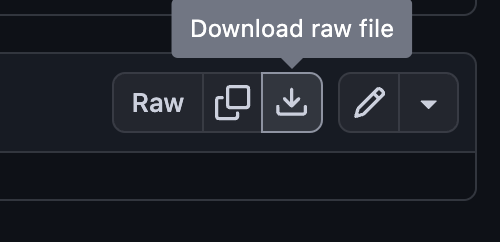
Browse to the file you want to update and in the right top clock the download buttong:
Make your updates to the file locally.
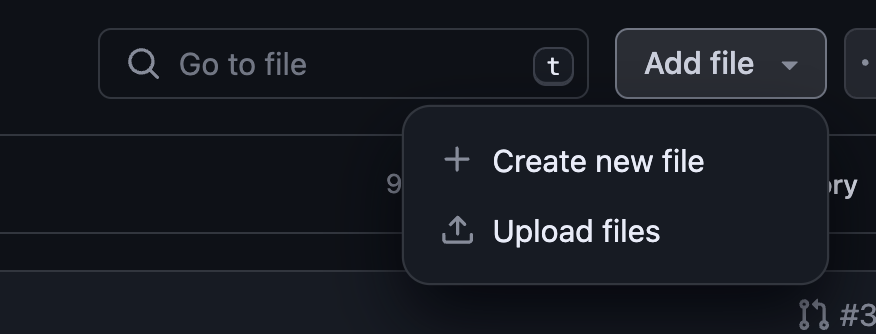
In the Github page, open the folder that contains the Excel file you want to overwrite:

In the top right, open the ‘Add file’ dropdown and select ‘Upload files’:
Select the files locally that you want to upload the screen should look something like this:
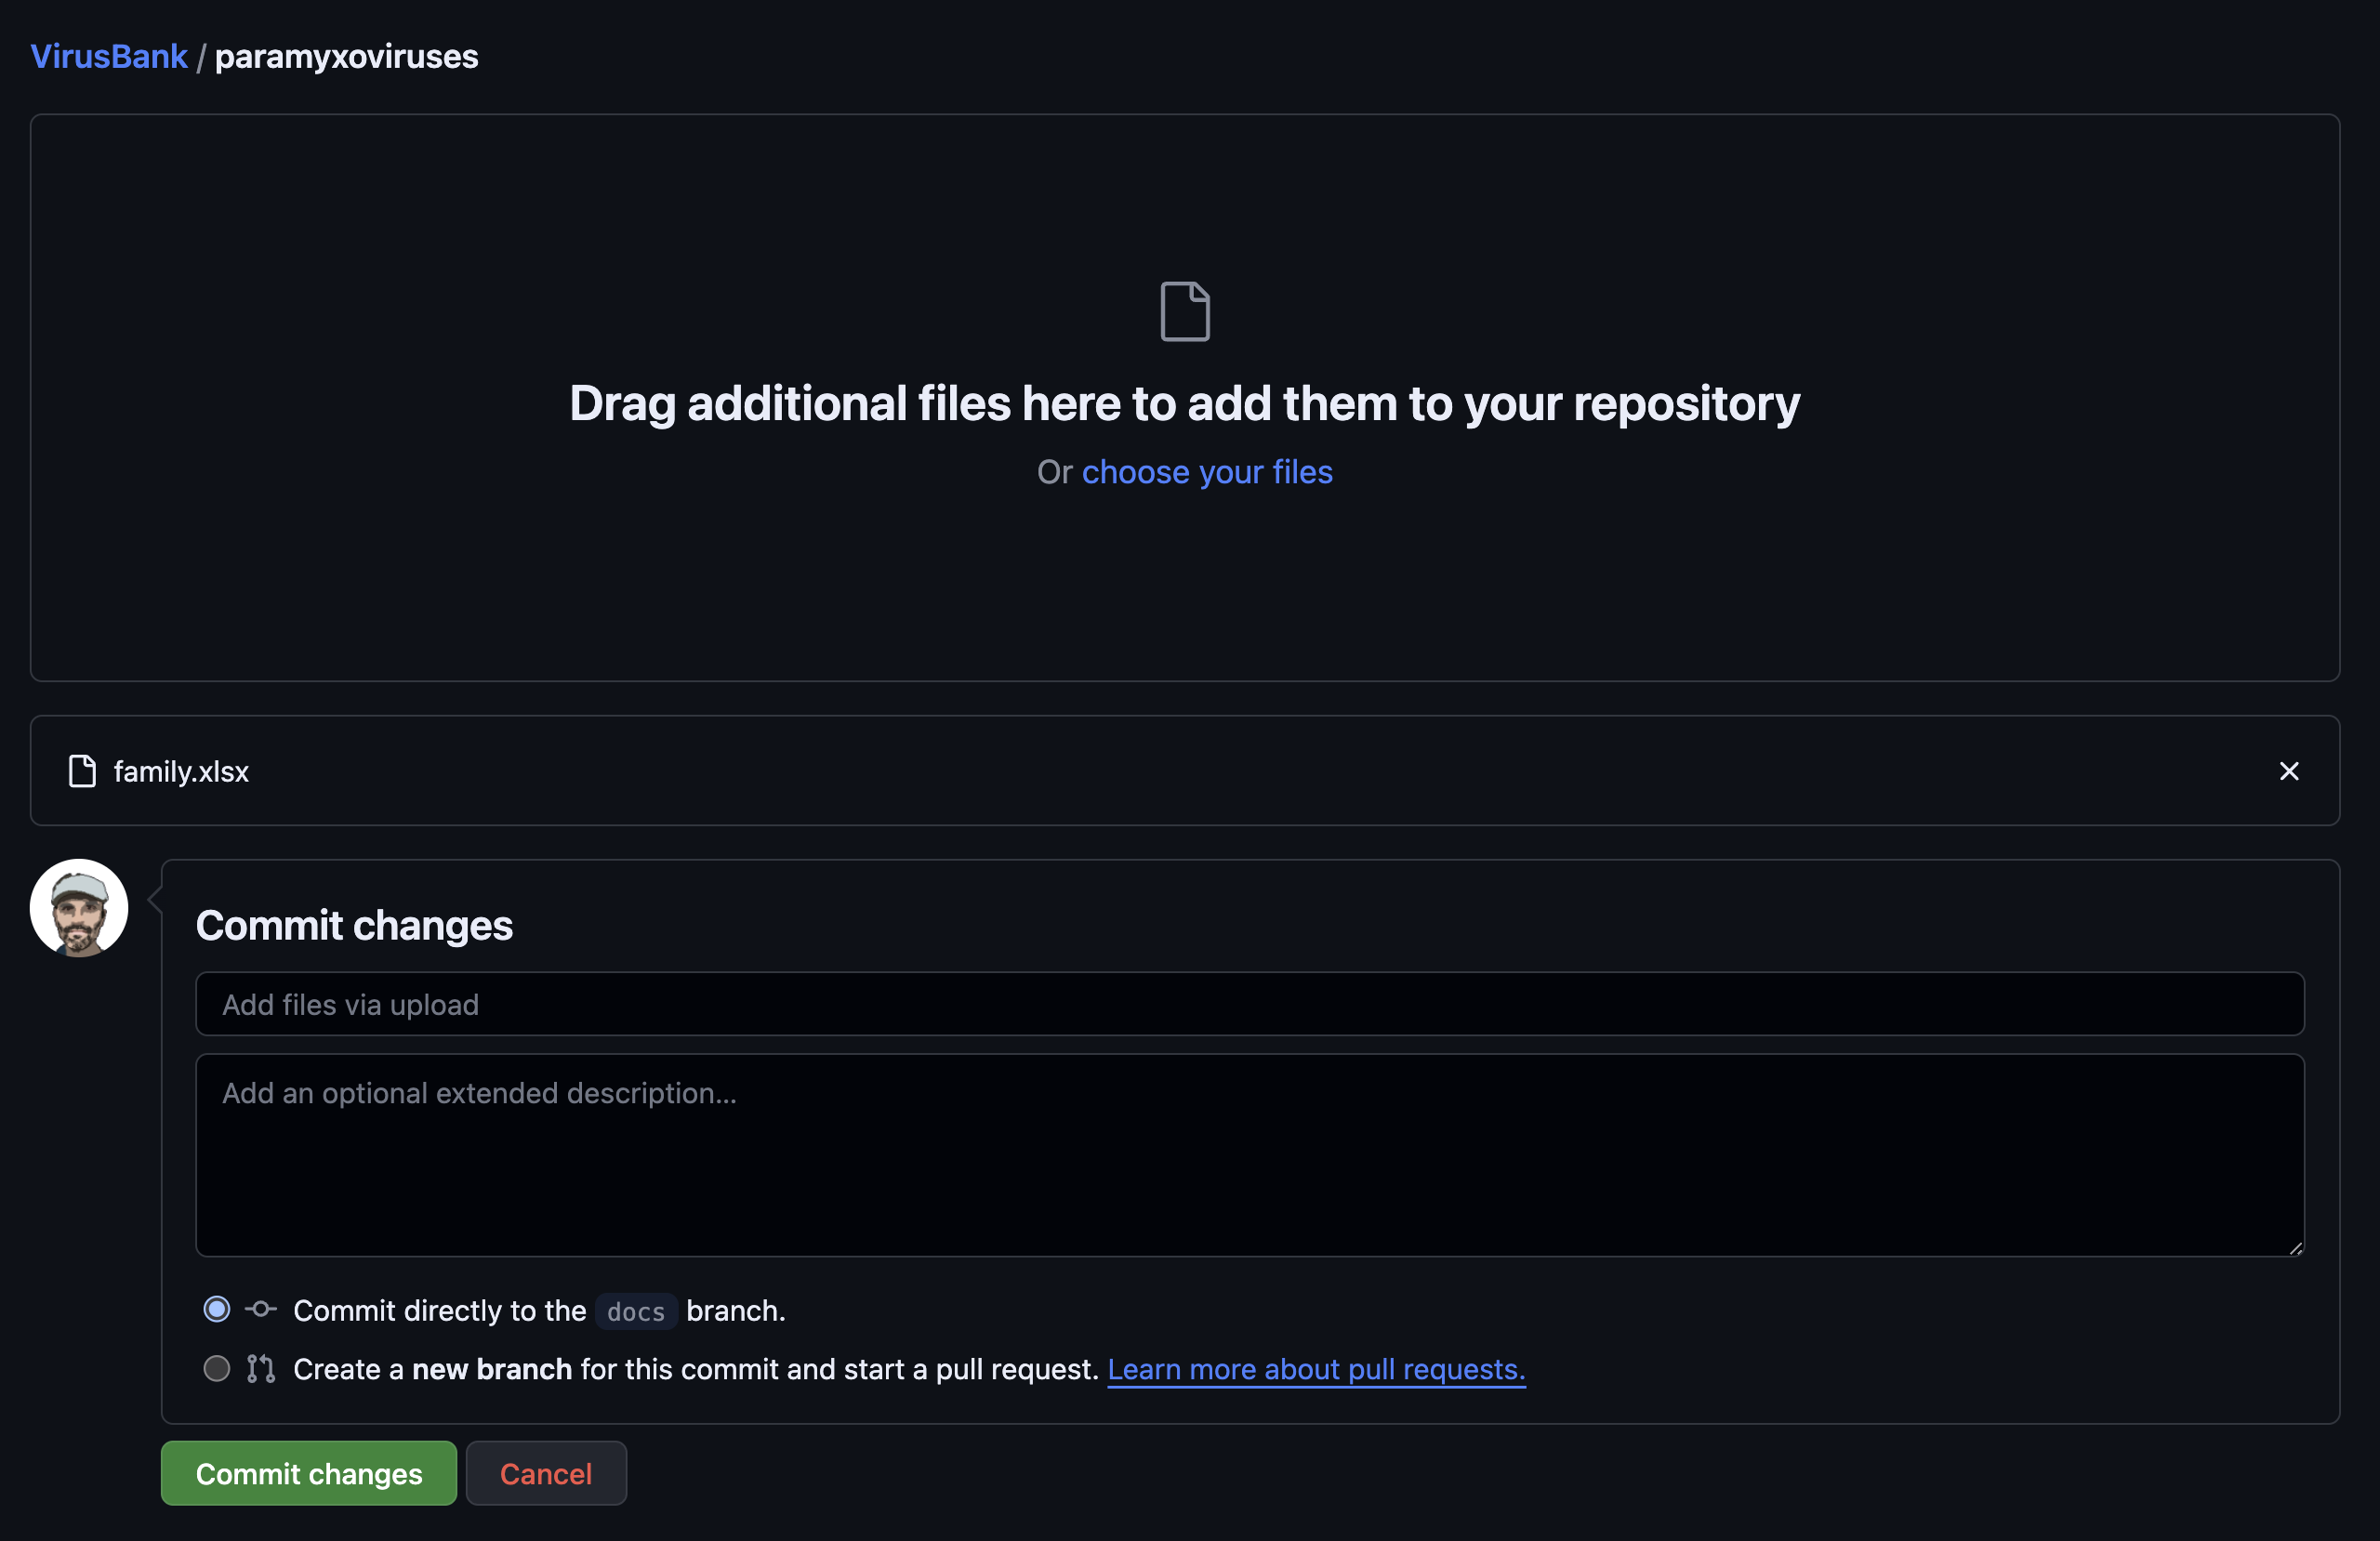
It’s ok to commit to the branch directly, but you should write a commit message:
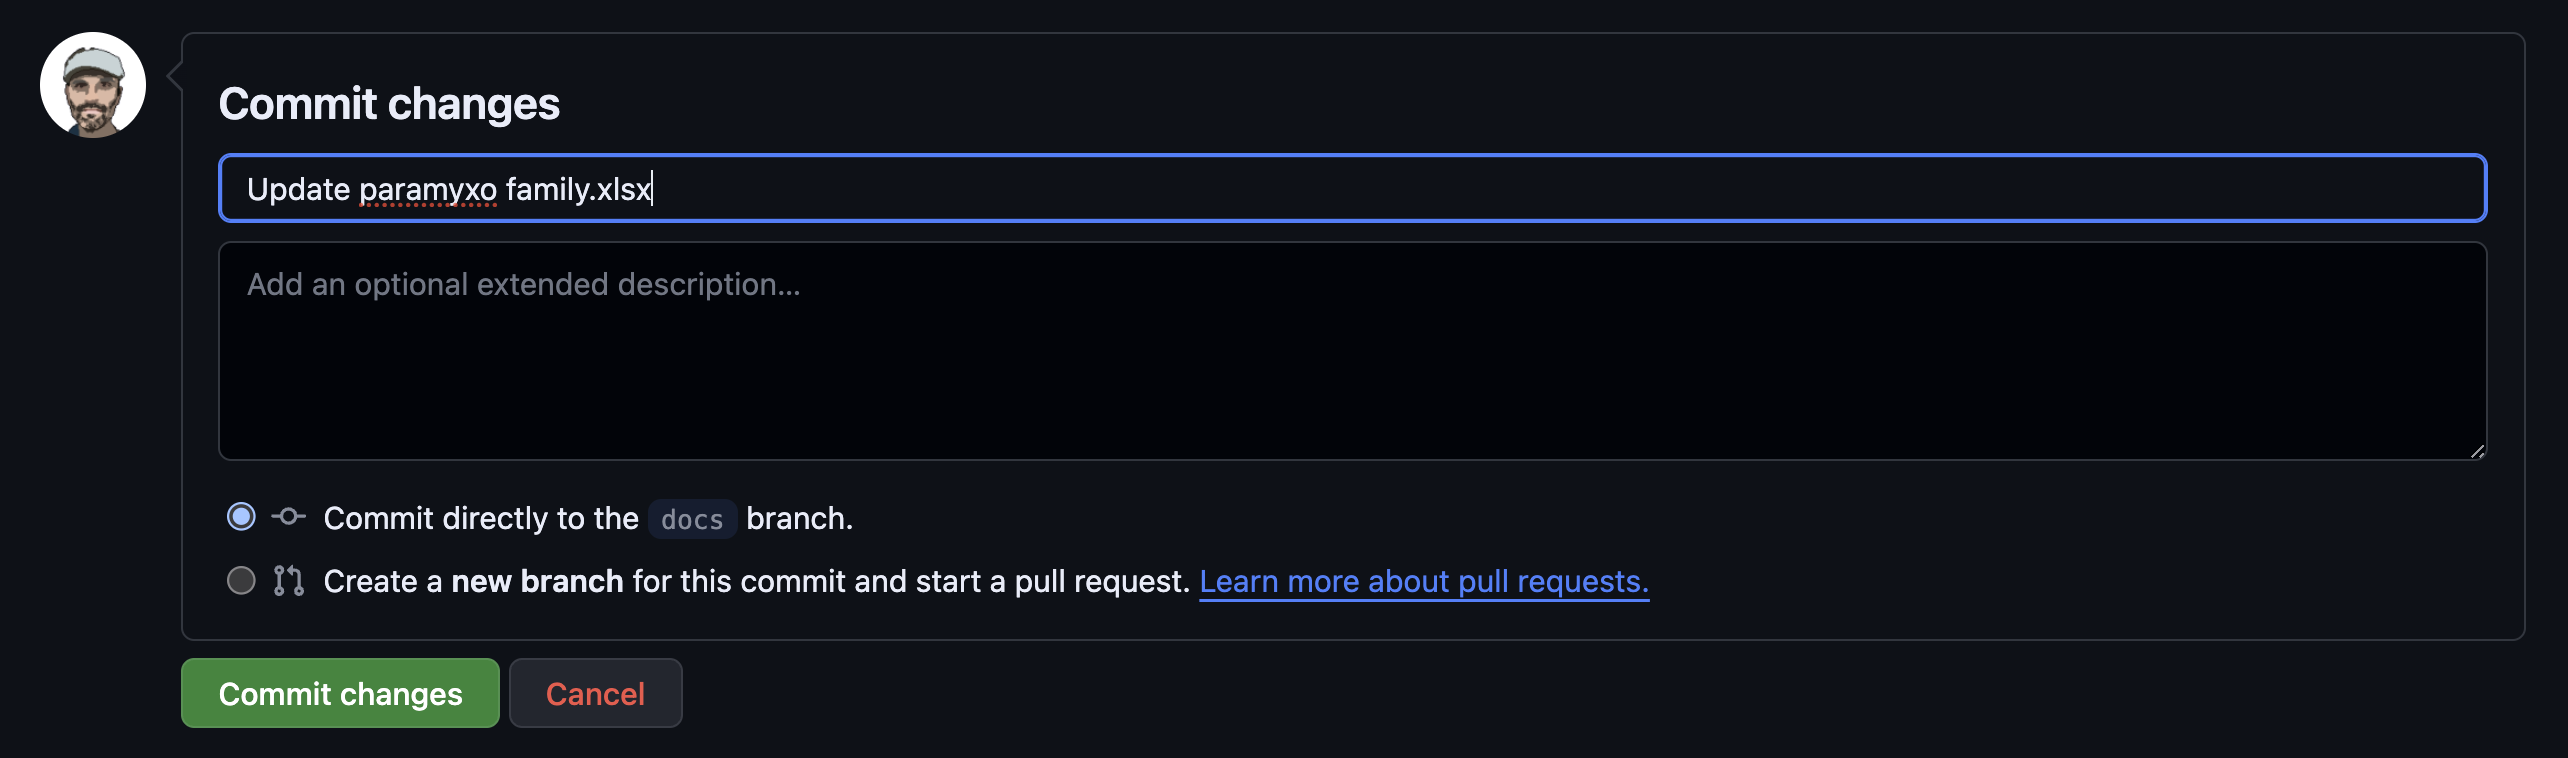
Now, press the commit button and your file is updated.
Virus information
Virus information is encoded in separate .qmd files for every aspect. For instance, for the River Ross Virus, the following files are present:
_RRV-relevance.qmd
_RRV-relevance-fig.qmd
_RRV-symptoms.qmd
_RRV-symptoms-fig.qmd
_RRV-toolbox.qmd
_RRV-transmission.qmd
_RRV-transmission-fig.qmd
These correspond to the tabs: Medical relevance, Symptoms and Transmission. The tab Toolbox is generated automatically based on the information in the toolbox and the annotations in the Excel file (see above).
The files itself are generated with placeholder content by means of the _js/update_family.js script based on the family Excel file. Running the update_family.js again will (by default) not overwrite those files once they are created.
Let’s quickly take a look at what kind of content can be found in the virus information files:
_RRV-symptoms.qmd:Some patients can suffer from a chronic long-term disease, characterized by a debilitating arthralgia that can persist for weeks to months. Death from RRV is rare._RRV-symptoms-fig.qmd:_RRV-transmission.qmd: We do not use text to describe transmission, only a figure._RRV-transmission-fig.qmd:_RRV-relevance.qmd:The virus is endemic in Australia, Papua New Guinea and other islands in the South Pacific. Despite being rarely fatal, RRV infections have high socioeconomic impact due to the chronic painful incapacitating phase of the disease. There are no approved vaccines or antivirals available for the prevention or treatment of RRV infection._RRV-relevance-fig.qmd:_RRV-toolbox.qmd: This file should not be edited, it is dynamically populated based on the family Excel file.
Some of the text files are a bit more complicated and contain additional Markdown formatting to make it readable. There are examples of viruses where figures have been integrated with the text as well. That’s also possible: leave the -fig-file empty and add the figures to the text .qmd file using the proper Markdown syntax.
Please note that the figures need to be available (ideally under a img/ subfolder) and that the pointers should be right.
Update a tool
Sometimes a description for a tool will have to be changed, this is quite easily done by updating the src/toolbox.yaml file. The next time the site is rendered, it will pick up the changes and update accordingly.
Add a virus to a family
Which viruses belong to what family is configured through the family.xlsx file for that family. This means that adding a virus comes down to adding an entry in that file.
One important remark is in place here: The virus_id column in the Excel file should match a node in the tree.newick file. Rows with information that do not have a matching virus_id will not be shown in the app. It may be necessary to update the tree.newick file, but then the corresponding family.xlsx should be updated as well.
Open the
family.xlsxfile in Github itself (as described here)Look for the line that matches the
virus_idas present in thetree.newickfile or add this line manually yourself:
and
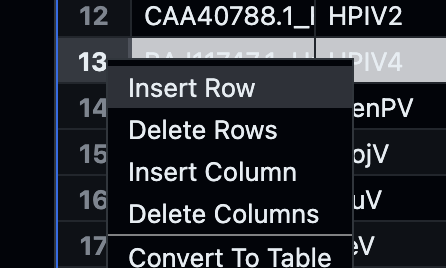
Enter all necessary fields and add
x’s for the tools.Run the
_js/update_family.jsscript:node _js/update_family.js -i coronavirusesThe additional information for this virus will be filled with placeholder content.
In order to run the above .js script, [this procedure can be used on Codespaces]((use-github.qmd#bininstall_nodejs.sh).
Add a virus family
Adding a virus family requires a few steps:
- Create the tree file in Newick format.
- Create (from a template) the family Excel file and make sure to use the proper IDs like in the tree file.
- Generated the necessary files using
_js/update_family.js. - Fill in all placeholder content for the specific viruses.
Remember that we start off with family.xlsx and tree.newick for every family. That’s all we need. The bootstrap step generates all the other files mentioned above based on the information in family.xlsx:
- The
index.qmdfile as well as the_details.qmdfor the family - Per virus, it generates the different
_VIR-...files.
Please note that this step also generates the content files itself, even though we do not have content yet. Instead, placeholder text and figures are inserted to be replaced later.
Prerequisites: In order to build this step, one needs NodeJS installed together with some
npmpackages.For convenience on Codespaces, there is script
bin/install_nodejs.shthat can simply be run in the Codespaces terminal. Please find the instructions for this here.Next, we create a directory for the virus family, say
virusbankviridae:mkdir virusbankviridaeand store the correct
family.xlsxandtree.newickin this directory.We can now run the bootstrap script:
node _js/update_family.js -i virusbankviridaeIt’s possible that errors occur in the Excel file, the output of the script provides feedback on what viruses and additional information have been picked up.
Revert changes
Sometimes you will have to revert changes to one or more files. This can easily be done in Codespaces by just clicking the ‘back’ arrow next to the file or on the top of the list the same icon applies to all files in the list.